How to Prepare for the NGN Simulation Exam

  1. Familiarize yourself with the exam protocol:
    • Day 1: Enrollment
    • Day 2: Orientation / Instructions + Practice Exam
    • Day 3: Simulation Proper
    • Access - 1 day
    • Test time limit: 5 hours
    • Review results / rationale: viewable on day 4 until end of day
  2. Make sure to allocate enough time for the exam. The time limit is 5 hours, so plan accordingly.
  3. Before starting the exam, ensure that all your work on other applications is saved, as the device will be locked down during the exam.
  4. During the simulation exam, focus on reading each item carefully and providing the most appropriate response.
  5. After completing the exam, review the results and rationales, which will be viewable on day 4 until the end of the day.


Good luck with your NGN Simulation Exam!

Before You Begin

You'll need:

  • An internet connection
  • The device that you'll use to take your assessments
    • To ensure that your device meets the minimum requirements, see: Examplify Minimum System Requirements
    • On the day of your exam, either connect your device to power or fully charge the battery.
    • Make sure that you have a working webcam and microphone.
  • Your institution ID (Mind Web Academy - AU)
  • Your login credentials (provided to you by your institution)


Important: You can't download assessments on multiple devices. Install Examplify on the device that you'll use to take your assessments.

Procedure


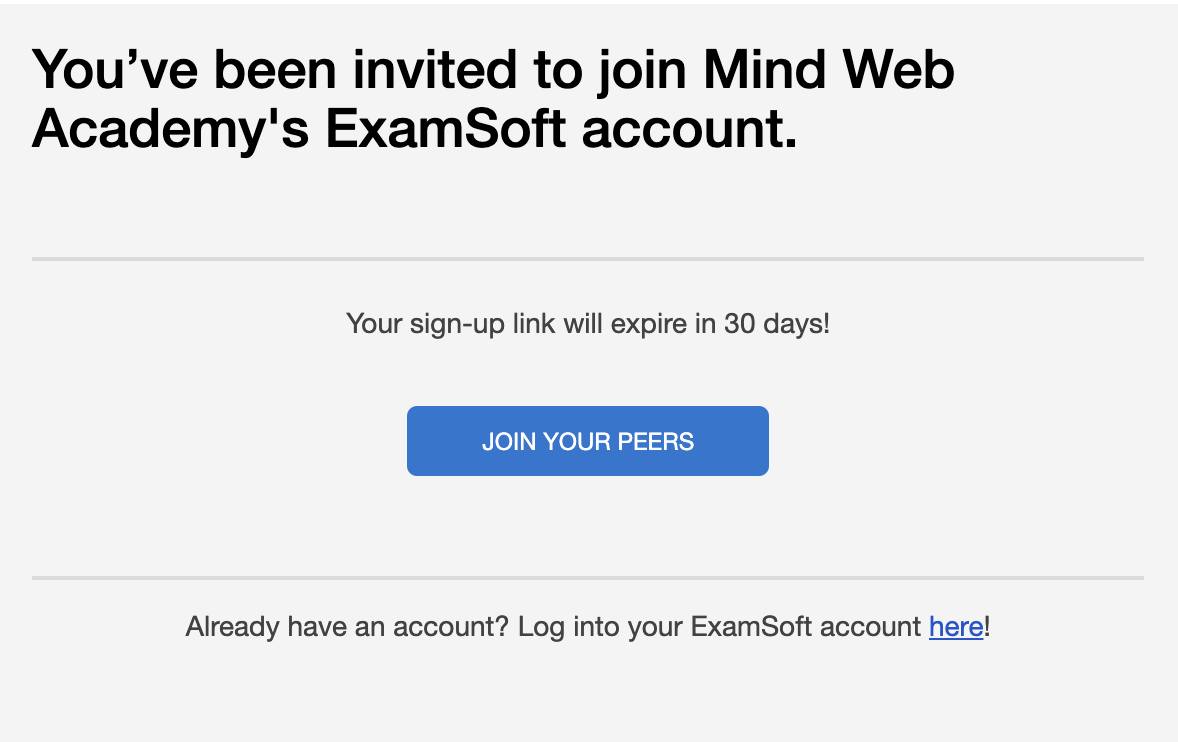
  1. Your account will be pre-created. Look for the email with a subject: "Join Mind Web Academy's ExamSoft Account" in your Inbox or Spam folder.
  2. Click JOIN YOUR PEERS button to continue.
  3. Since your account is pre-created, your initial information will be preloaded as well. Nominate your desired password to continue.
  4. Upon login, you will be redirected to the Dashboard. Select the Download button.
    rtaImage1.png
  5. Follow the on-screen instructions to download the installer file.
  6. Go to the Downloads folder on your device, and run the installer file.

    Note: If your device is a Mac with the M1 or M2 processor, you'll be prompted to install Rosetta. You must select Install to continue the Examplify installation. For more information, see: Examplify: Tips for Installation on a Mac with an M1 Chip

  7. Start Examplify.
  8. On the Add New Account page, enter your institution ID or name, and then select Next.
  9. Enter your login credentials.